It’s day 9 of Corona Virus Quarantine and with my favorite hair removal salon the latest casualty of Corona Virus closures, I had to take matters into my own hands. Cranky from Starbucks shutting down and with my gel nails half chipped revealing sore brittle nails, I set off to make a batch of my Sugaring Hair Removal Recipe. I was due for a sugaring appointment and had been trying to keep to a specific schedule in order to minimize hair regrowth. If you space your hair removal between 4 and 6 weeks apart, the hair grows back finer and finer each time.
In the spirit of accurately reporting the success of this Sugaring Hair Removal Recipe, I proceeded to give myself an almost Brazilian bikini wax. I won’t say it was with disastrous results, but I will say there was a very sharp learning curve. I got results and that’s what matters. Now that I have the technique figured out along with the recipe, I am sharing my tips on how to actually do your own sugar hair removal.
I already knew this but in this adventure, I learned that my sugaring esthetician is a treasure and a queen. I will never stop going to her in favor of doing this at home just to save a few dollars. This is life in the bunker though and we are in survival mode, so we do what we must. When this is all over, make sure to support your local sugaring salons, nail salons, and hair salons. Especially women-owned non-chain salons. We cannot let these types of women-owned businesses become a casualty of Corona Virus Closures.
If you live in Vancouver, I go to Sugaringchange in Port Moody and I see Chantelle, the owner. All of the women that work there are excellent. In Chilliwack BC there is Sugar’d and there are other sugaring salons across Canada.
Sugaring Hair Removal Recipe
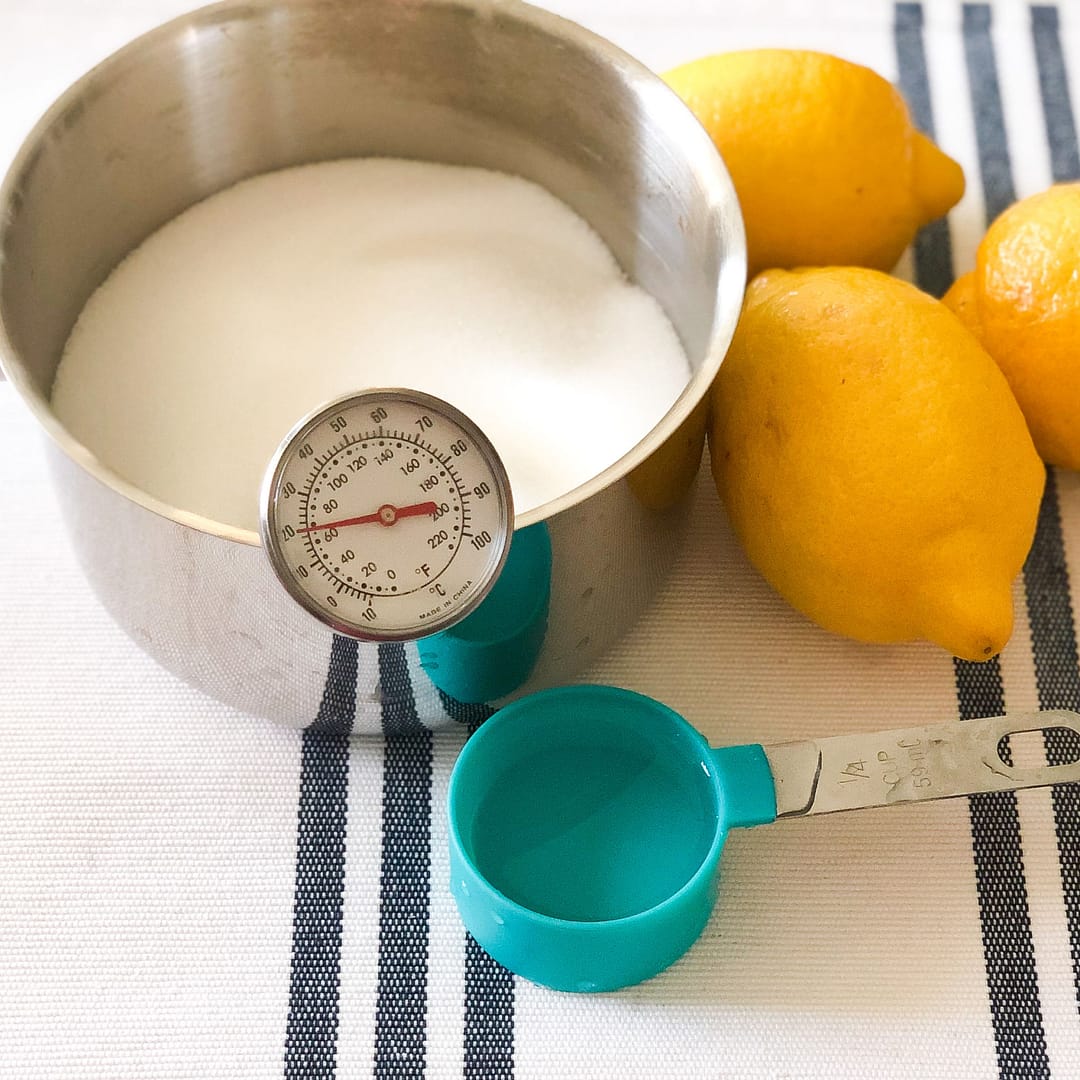
1 cup of white sugar
1/4 cup of fresh lemon juice
1/4 cup of water
*Make sure you have all of your supplies prepped and ready. Once you start cooking the sugar you need to carefully watch it or it will overcook quickly. I recommend using the same style of plastic food storage container that I used, but you can also use a glass jar.
If you are using a glass jar make sure you temper it by warming with hot water and drying it well. Don’t leave any dampness inside the jar. Pouring hot caramel into a cold glass jar can cause it to smash so make sure you temper it first.
If you have a candy thermometer you will definitely want to use it. I have a meat thermometer that works in a pinch but it’s not ideal. The temperature on a meat thermometer does not go high enough. It is close though so you can guestimate it. I will be buying a candy thermometer the next time I cook up a batch. I had a few fail batches of this last week when I was eying the color vs. watching the temperature. If you overcook this recipe by just a little you will get a caramel that hardens and doesn’t act like a putty, which you need for it to remove hair.
The Cooking Process
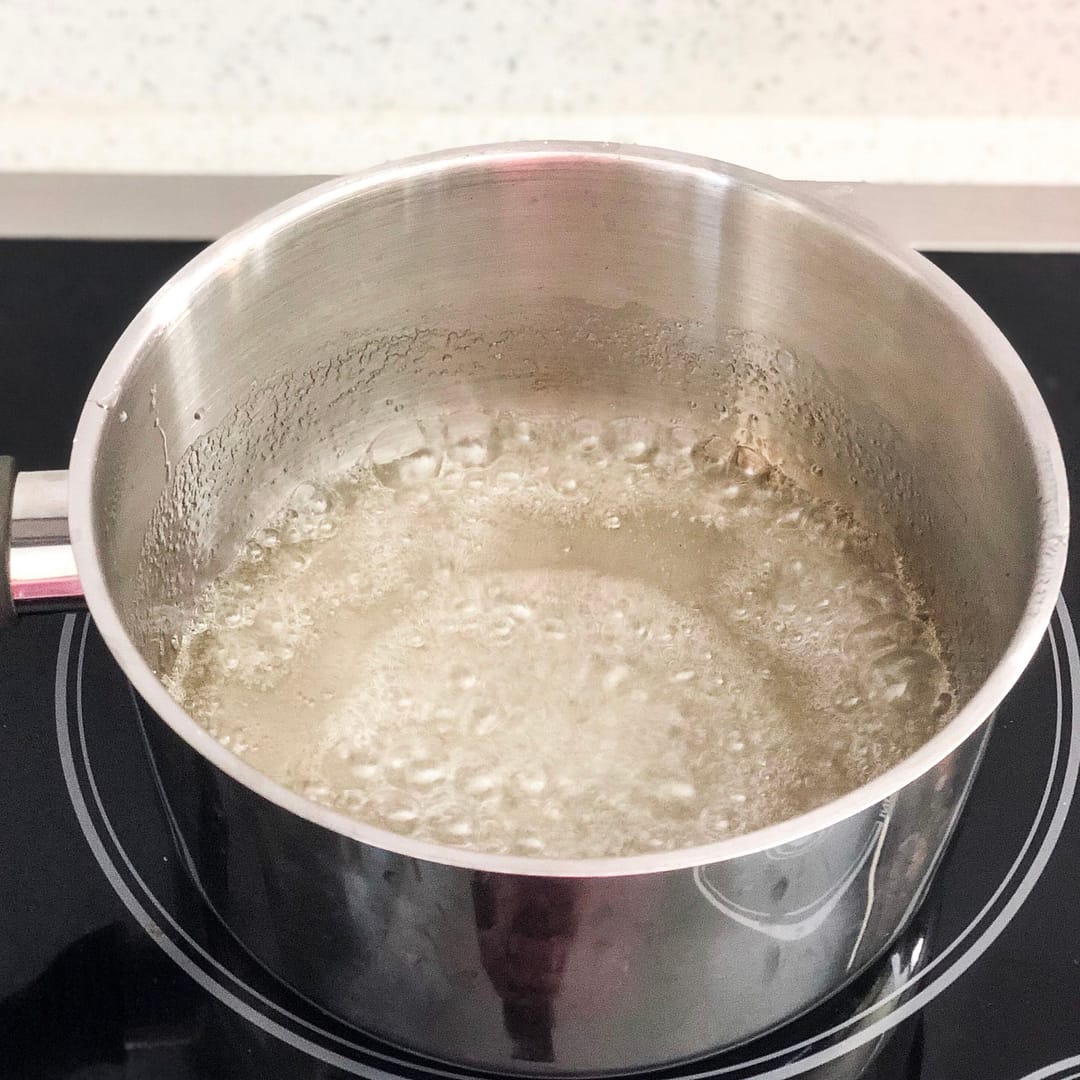
Cook mixture for about 5 minutes. Stirring occasionally. 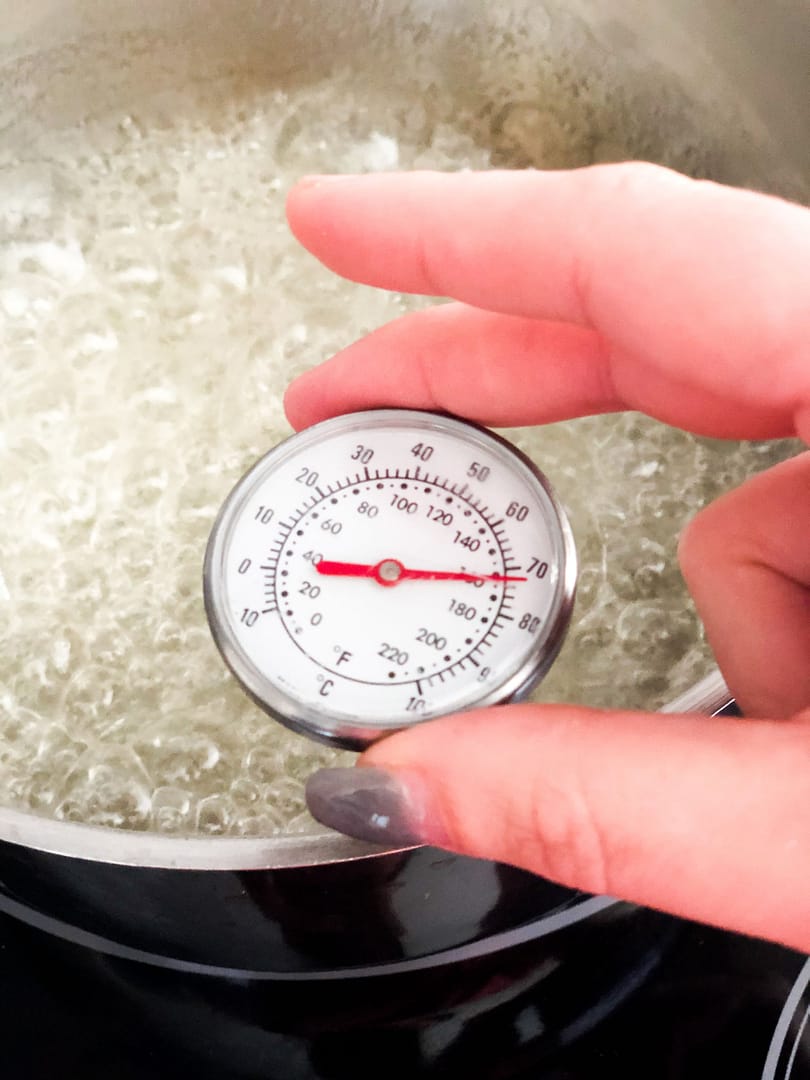
Check the temp often. This should cook for around 5 minutes. 7 minutes was too long for my first batch. 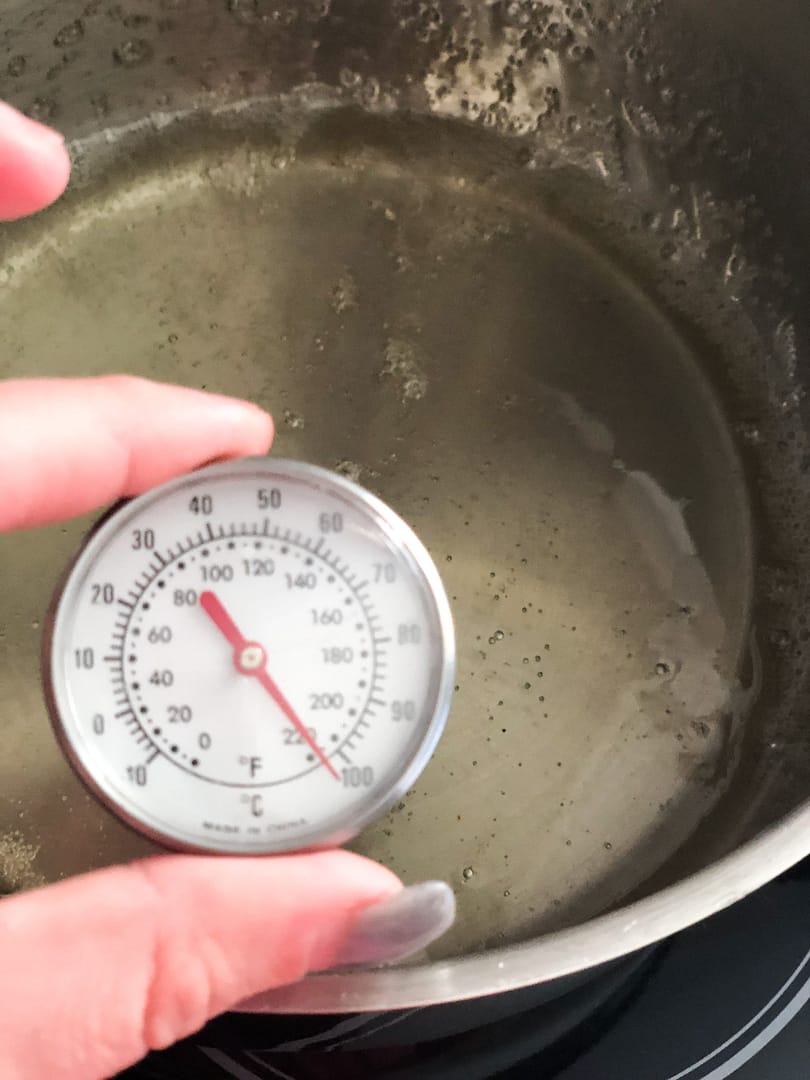
Once you hit the desired temperature, remove it from heat immediately. 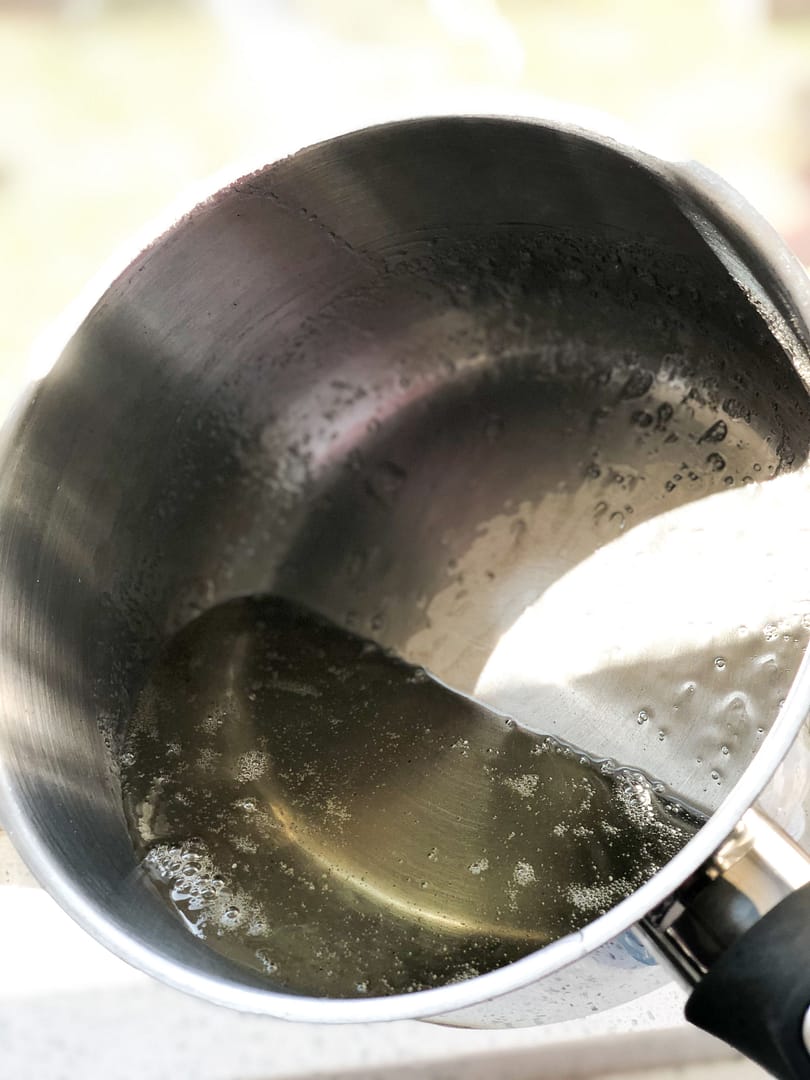
This is the color you are going for, or ever so slightly darker for a more firm sugar paste. 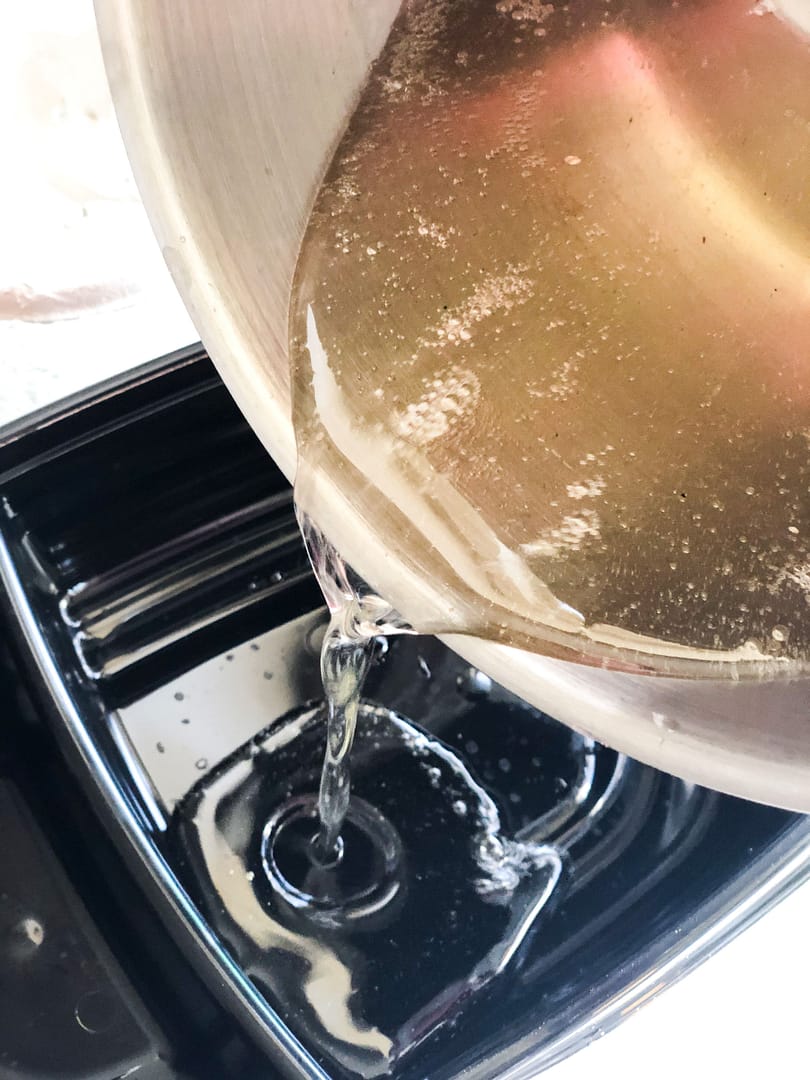
Pour into container and let it cool for 30 minutes at least before using.
Ideal Temperatures For Cooking Your Sugaring Hair Removal Recipe
Boil your sugar mixture in a saucepot over medium-high heat, or high heat if you are very closely watching it. Keep focused attention on your sugar as it cooks because it cooks very quickly. Check the temperature once it’s melted and begins to change color. My perfect batch took 5 minutes on high on my induction cooktop, and my overcooked batch was 7 minutes.
The temperatures you want your sugar to reach will depend on where you live, and how warm and humid it is. My best batch was stopped when it reached 245ºf. Once your sugar paste is cooled it needs to be able to be formed into a ball that is slightly tacky but not sticky. It will look and behave sort of like a tacky putty.
Overcooking your sugar past the caramel stage will cause it to harden when kneaded and it won’t work at all for hair removal. They all look the same as a melted syrup but behave differently once it begins to cool.
Cooking sugar is a science, especially getting it to a paste form. Boiling sugar will get you a caramel paste or it will get you hard candy. Both look the same consistently while on the heat. We want paste, not candy. Knowing the perfect texture perfect for hair removal, and the techniques for using it effectively is an art form that you will perfect over time with practice.
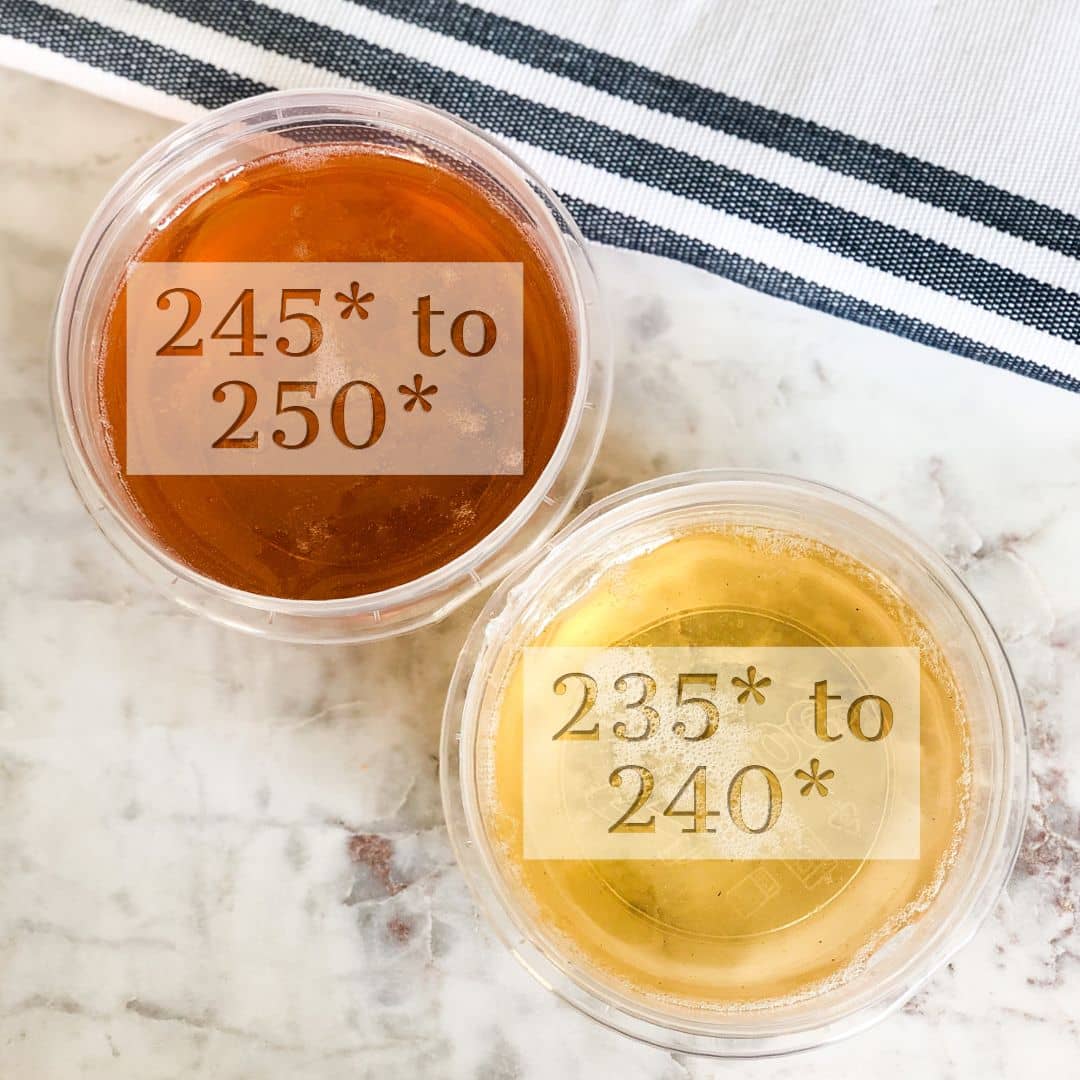
I made up two different batches and of the two I preferred the slightly darker batch which was a ‘firm ball stage’. I also had a failed overcooked batch early on in my experimenting. The lighter container is a ‘soft ball stage’ and it’s stickier and harder to form at this point. Once it cools longer it should form easier. Starting with the cooler temped soft ball is wise as you can always heat it up a bit longer if it’s too soft. Once I realized the firm ball worked best for me I reheated the soft ball mix to store for later.
Soft Ball – 235ºf – 240ºf | 112ºc -115ºc
Firm Ball – 245ºf – 250ºf | 117ºc – 121ºc
Working The Sugar Into a Paste
Once you pour and your caramel mixture has cooled enough that you can safely handle it, (about 30 minutes), you can start working with your mix. You need to work the sugar paste a bit before you can spread it on your skin to remove hair.
Take a butter knife and start mixing the paste in the container to get some air into it. You will see it starts to thicken up a bit as you do this. Take a tiny bit of cold water on your fingers (don’t wet your fingers, just slightly dampen them) and then scoop out a cherry-sized amount of mix with your hand.
Start kneading your mixture until it loses opacity and is able to stretch. Stretch it and fold it repeatedly until it comes together like the pale yellow photo below. This piece is now ready to use for hair removal. You can use it right away, or store it wrapped in some parchment paper and then in a zip lock bag. Store it in a cool place at room temperature.
You can also store your Sugaring Hair Removal Recipe un kneaded in a microwaveable container. If it firms up too much you can quickly heat it in the microwave and let it cool down to warm and then simply knead the piece you want to use as you need to use it.
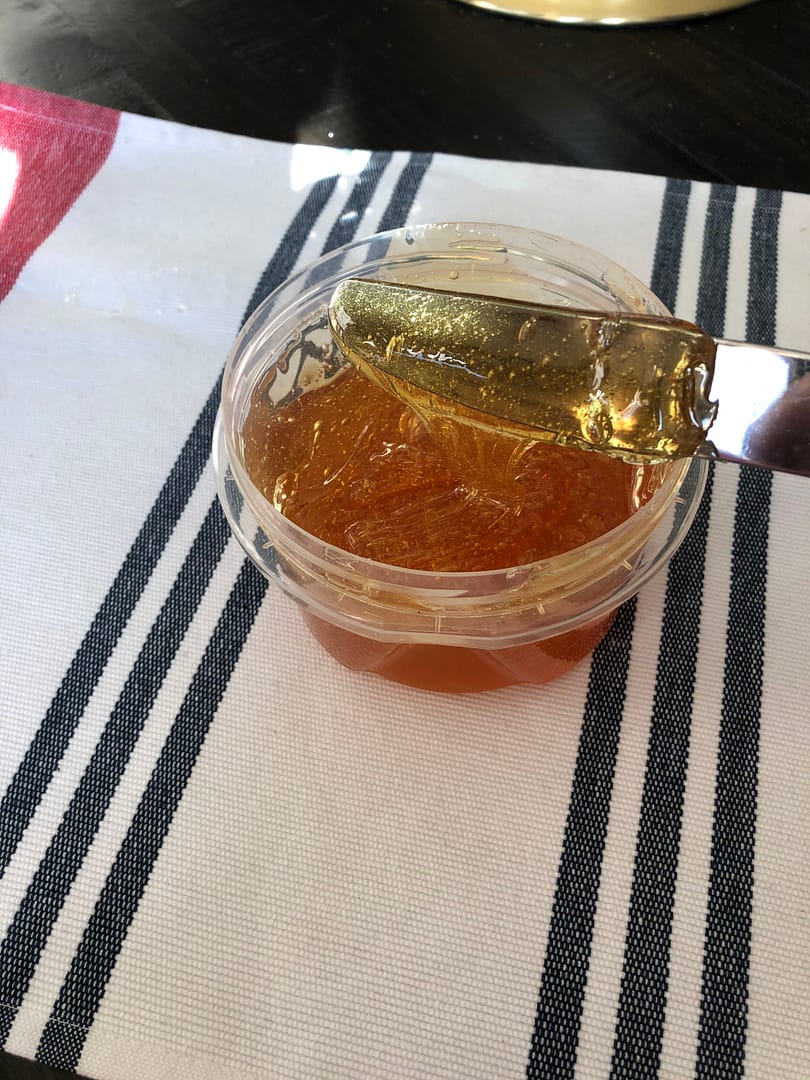
First stir your mixture to get some air into it and to judge it’s textured. This looked perfect. 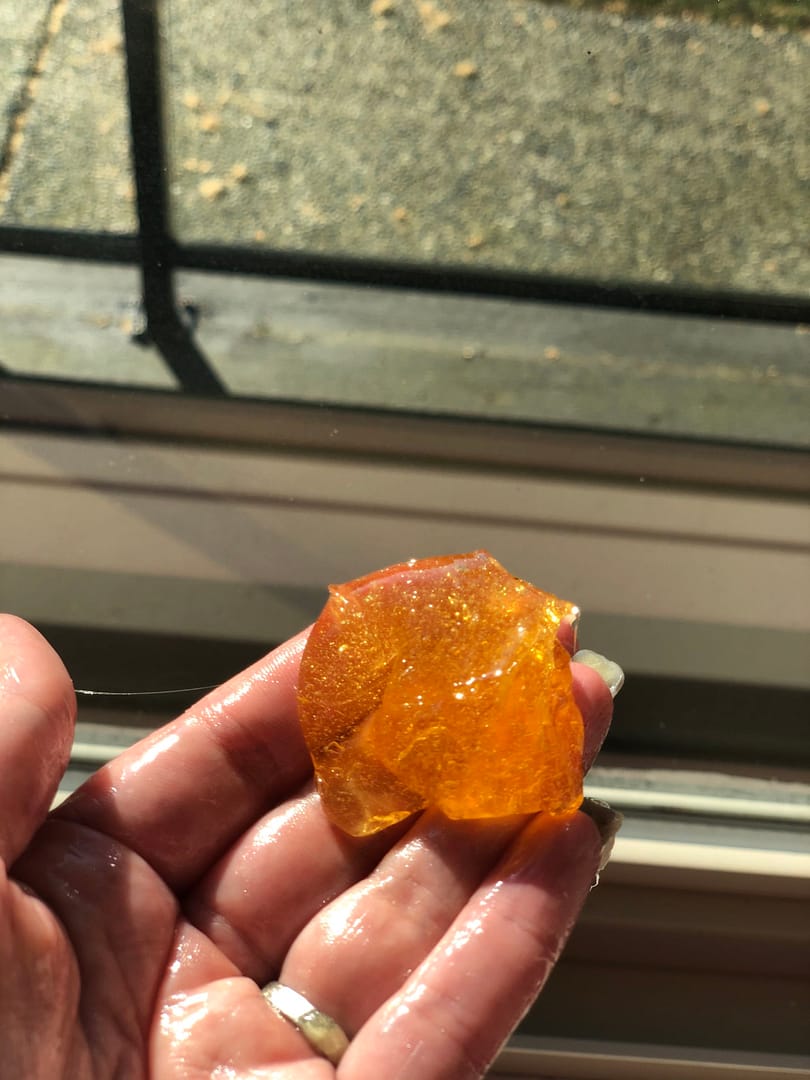
slightly dampen your fingers with cold water to prevent the caramel from sticking to your hands. I had lots of fails with this before I figured that trick out. 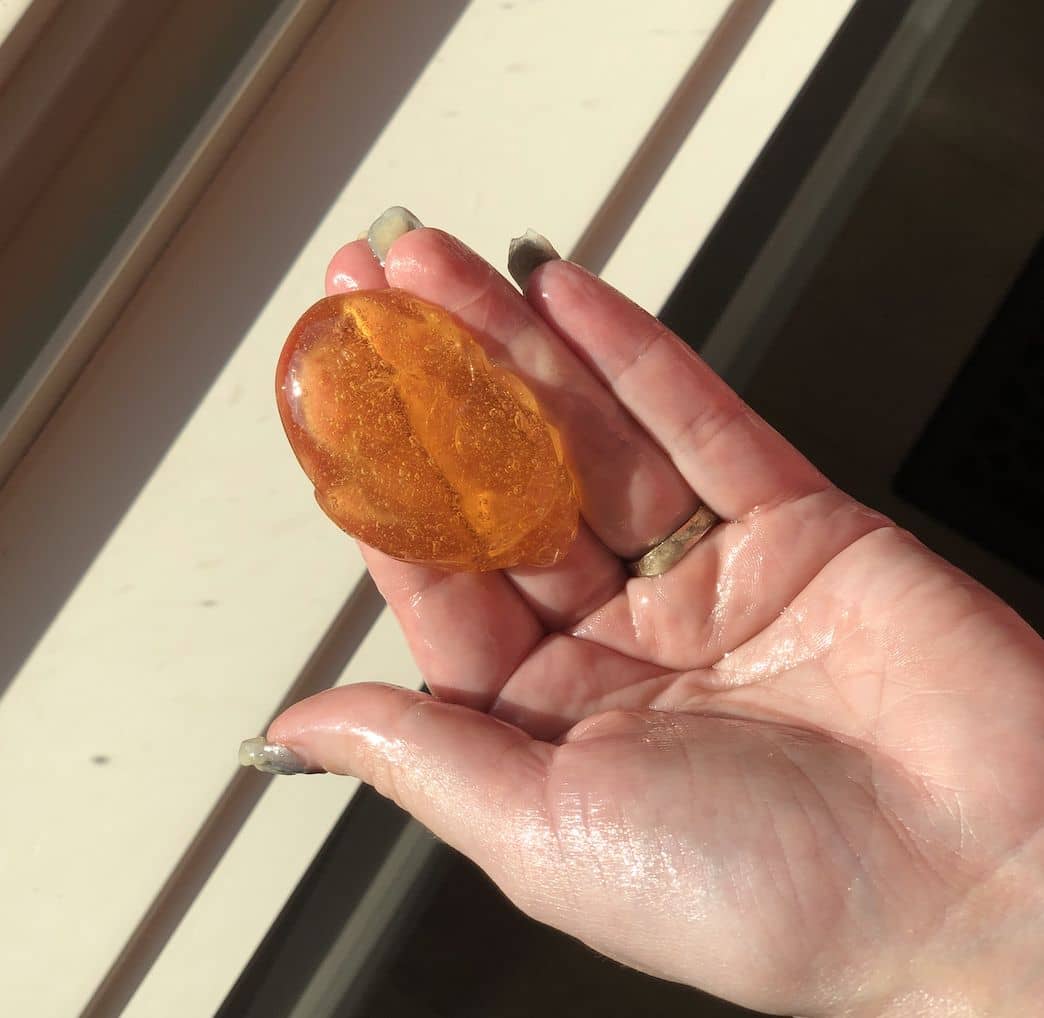
Start to roll it and shape it. 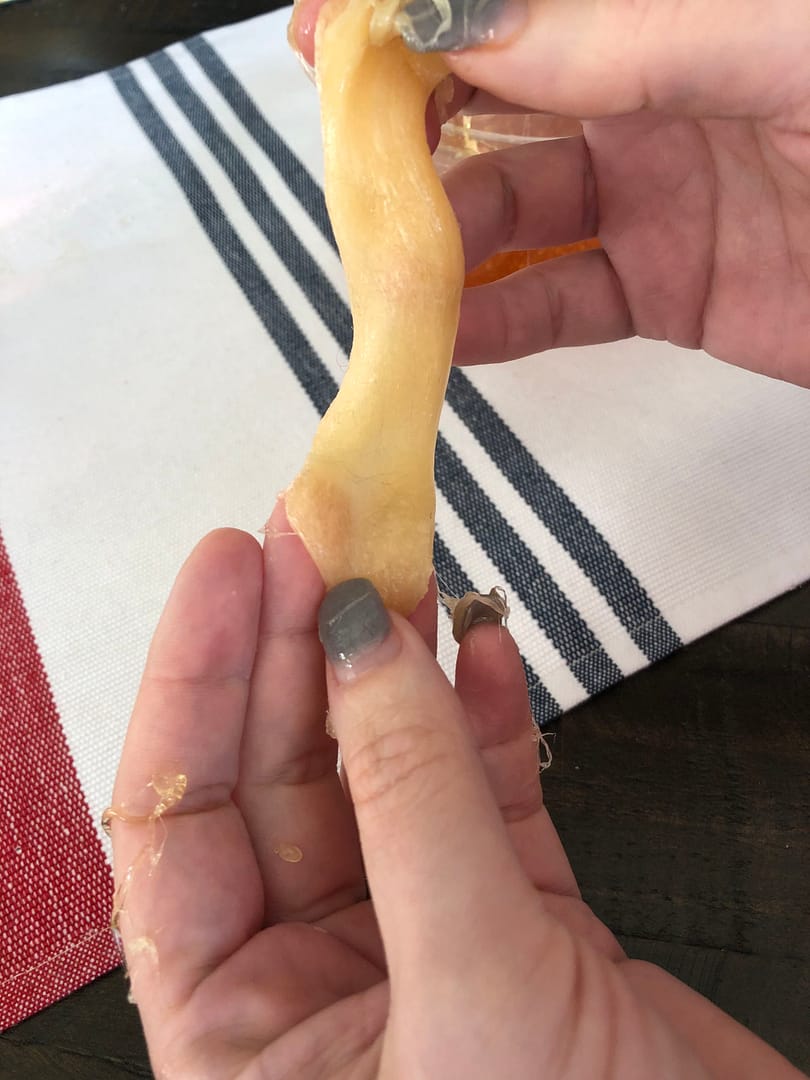
You want to begin stretching and folding it until it looks opaque like this. This is how you want it when you begin to use it for hair removal.
Really sticky without water on fingers. Adding that tiny bit of cold water helped this come together.
This was really sticky at first but once I added that tiny bit of cold water to my hands it all came together.
(Excuse my daughter in the background singing and practicing Irish dance. You can watch this with the sound off).
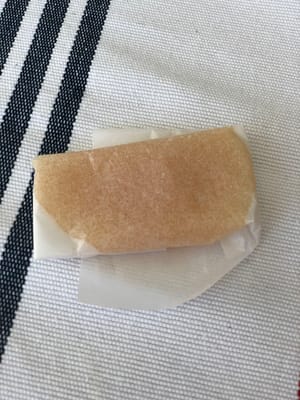
Once you’ve worked it you can either use it right away or create little packets with parchment paper like this. I stored a few packets of kneaded sugar paste, and I also stored a container of unkneaded sugar.
How To Use Sugaring Paste To Remove Hair
Here is the technique you want to use to remove hair with this sugaring paste. Spread it firmly up against the direction of hair growth, and then flick it off towards the direction of hair growth. When you spread it you really want to smush it into your skin so that it surrounds your hair follicles. Doing it this way ensures you get everything at once vs having to repeat the process in the same spot over again. Make sure to pull your skin taught as much as you can when removing the sugar or you will bruise like I did.
You need your skin clean, dry and lotion-free. Powder your skin with arrowroot or cornstarch before you start spreading the sugar. Make sure to keep the powder handy. As your skin warms up the sugar it will get too sticky and the powder will help it lift off your skin.
If the sugar melts as it spreads to your skin and it sticks, just dust it with powder and apply a bit of new cooler sugar paste on top. The sugar should stick to the sugar and help remove it, and the powder helps bind the sticky paste. Don’t attempt to pull off melted sugar, that hurts. Just leave it for the moment and dust it. I got some melted paste stuck to me and kept trying to pull it up which hurt and caused bruising. That got me really frustrated and anxious but once I figured out it needed to be powdered it came off easily. Use your powder every time you feel the sugar stick to your skin too much.
I’ll repeat it again here just as a reminder because I kept forgetting this myself. Rub the paste into your skin against the hair growth, and pull towards hair growth while holding your skin taut. This hurts much less.
Normally when I get sugaring done at the sugaring salon I use Emla cream to numb the pain. I didn’t this time and the pain really wasn’t too bad, and that was as a rookie. I will definitely be foregoing the Emla cream from now on at the salon. The of the pain was when I rubbed melted sugar on my skin and tried to pull it off. Using the right techniques – pushing the wax into my skin firmly to grasp all the hair, and pushing it in the right direction, holding skin taught and removing from the right direction really helped minimize pain. All of it was significantly less painful than any waxing I’ve had done. It’s sugaring all the way for me!
Another tip I have is that the less you knead the sugar the longer it will go without getting too sticky. Overhandling it and needing it in warm hands will have you going through a lot of sugar.
Aftercare For Sugared Skin
When you are done your skin may be a bit red and have little bits of sugar here and there. Wipe with a warm but not hot cloth and then you can use a french green clay mask for a few minutes to close your pores. Wipe that off with a warm wet cloth and let your skin rest for the next 12 hours.
Aftercare for sugared or waxed skin is super important. You should not exercise or have a warm shower for 12 hours, and avoid hot baths until 24 hours have passed. Maintain your skin after those first 24 hours by daily gentle exfoliation and keeping your skin hydrated with high-quality body oil. Gentle exfoliation prevents ingrown hairs from forming.
I am giving you this Sugaring Hair Removal Recipe with Instructions on the condition that you support your local women’s owned hair, nail and hair removal salons as much as possible once the quarantine life is over.